I just realised that yesterday was A Pot of Tea and a Biscuit's first anniversary. I can't believe it (not that I missed it, because I'm quite good at missing things), but the fact that it has been a year since I wrote my first post. I don't think I thought back then that I'd really get into this whole blogging thing myself, and I certainly didn't think that there would be over 13,000 visits to my blog and nearly 60 people reading my ramblings in their Google Reader on a regular basis. So, thank you, each and everyone of you, whether you are just lurking or whether you leave comments, without all of you it'd only be half the fun!
Onto the food now though....
I love roasted garlic. It's great for using in all sorts of dishes. However, I like it best just as it is, squeezed straight onto some fresh crusty bread. Heavenly. Some of you might think that it must be awfully strong, but believe me when I say that roasting it makes it wonderfully mellow and brings out a lovely sweetness, just like slow cooking onions does.
Most recipes I know call for a huge amount of olive oil to roast the garlic in, which makes it somewhat 'unhealthy' (I know, I know, some olive oil in your diet is actually really good for you). So, this recipe replaces most of the oil with vegetable stock and in my opinion the garlic tastes just as great and it is the recipe I always use these days. You can roast as many bulbs as you like at once, the large elephant garlic bulbs work great, but standard bulbs work just as well.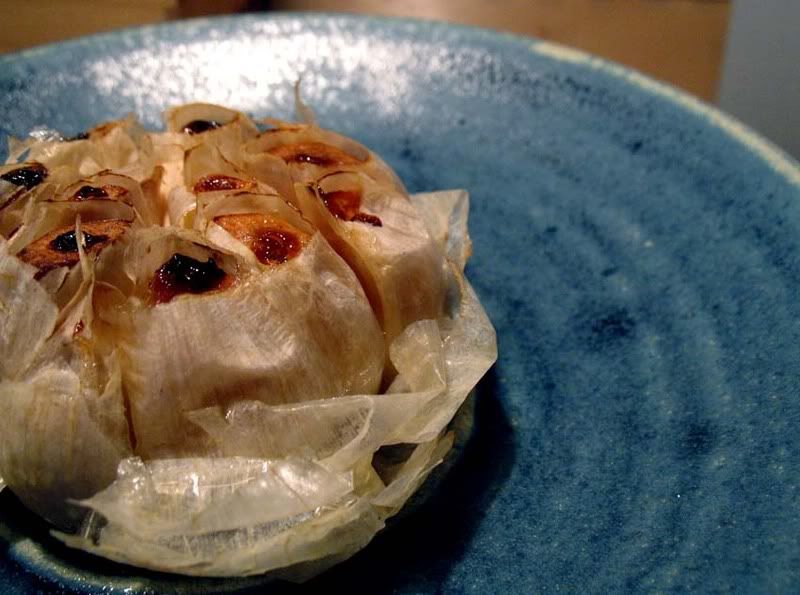
Roast Garlic
2-3 bulbs of garlic
vegetable stock
olive oil
6 sprigs of thyme
Cut the tops off the garlic bulbs, just enough that the tops of the individual cloves are taken off. (You can keep the cut-offs and use them minced in another dish.)
Place the bulbs in a small oven proof dish, top each one with a couple of sprigs of thyme and drizzle with a little olive oil.
Pour enough stock into the dish to come up to about 1/3 of the bulbs.
Cover with some tin foil and bake in a pre-heated oven at about 160C/325F/Gas 3, for about an hour.
Monday 27 October 2008
Roast Garlic and a Belated Anniversary
Sunday 26 October 2008
Chocolate Mud Cake
As I said in my last post I baked two cakes last weekend, but I've been so busy all week that I'm only just getting around to writing about the second one. Last Saturday I was invited to an informal dinner party and I promised to bring the dessert, so the night before I went through quite a few of my cook books to decide on what to make. In the end I decided to go with a tried and tested recipe for a wonderful chocolate cake, because I was pretty sure that most people do love chocolate cake and I wasn't wrong.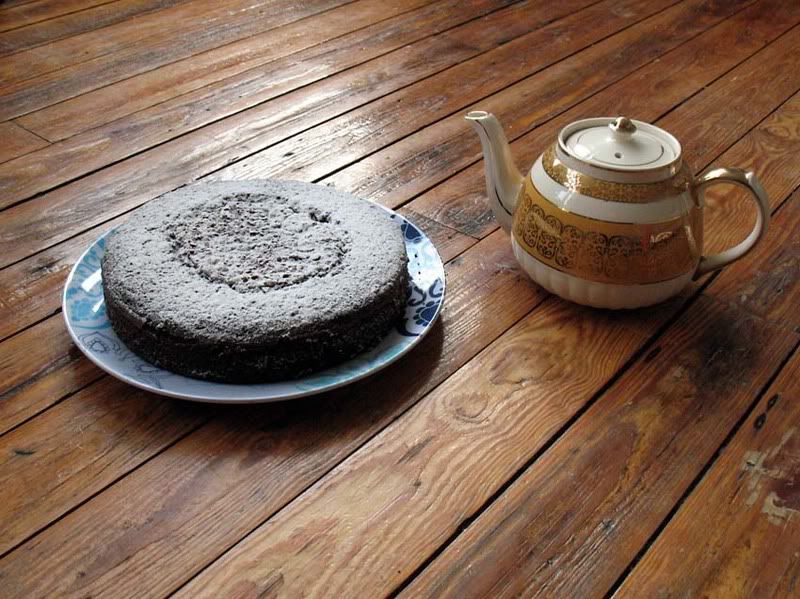
The coffee and dark chocolate in the cake means it is not overly sweet and thanks to the orange juice it is also wonderfully moist. Of course using all that butter and sugar means it is not the kind of cake you want to eat while on a diet (if there is such a cake at all), but it definitely makes for an indulgent chocolate cake, which is worth forgetting the calorie count for once in a while. Don't let the childish name of the cake fool you, it's without doubt a cake that will also please the grown-ups!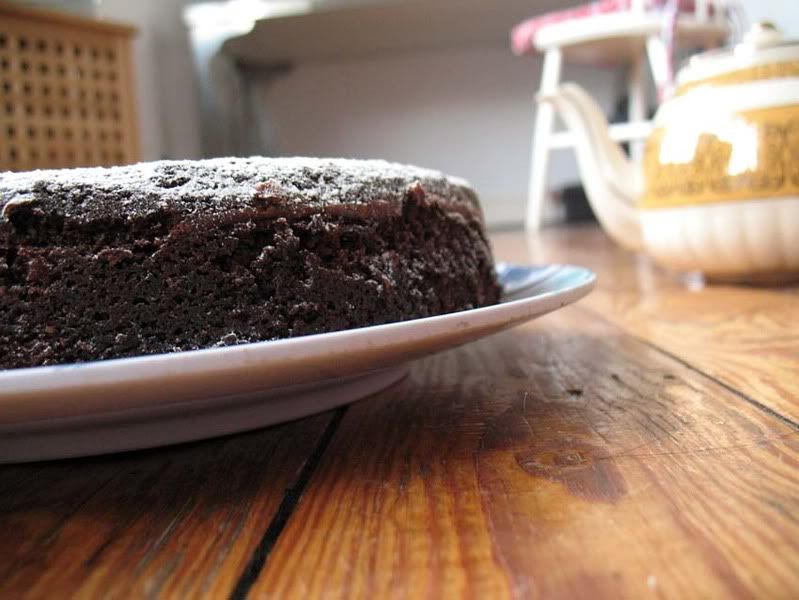
Chocolate Mud Cake
1 1/4 cup strong coffee
1/4 cup orange juice
175gr good quality chocolate, 70% cocoa solids (I use Green & Blacks or Lindt)
250gr unsalted butter
1 3/4 cup sugar
2 cups flour
1 tsp baking soda
2 eggs
1 tsp pure vanilla essence
In a sauce pan bring the coffee and orange juice to a simmer and add the butter and broken up chocolate. Stir until both have melted.
Add the sugar and stir until it has dissolved. Remove from heat, set aside and allow to cool.
Sift the flour and baking soda into a large bowl and make a well in the middle.
Beat the eggs and vanilla essence and stir into the cooled chocolate mix.
Pour the chocolate mixture into the well you have made in the flour and using a wooden spoon stir until combined.
Pour into a well greased and floured 24cm springform pan and bake in a preheated oven at 140C/275F/Gas 1 for 1 1/2 to 1 3/4 hours or until a wooden skewer inserted into the middle of the cake comes out clean.
Allow to cool for 20 minutes, before removing the springform pan's ring.
Sunday 19 October 2008
Tana Ramsey's Lemon Drizzle Cake
I used to bake quite a lot, but since moving and living on my own it doesn't seem to make that much sense to bake a cake. Either I'd have to eat it all, in which case even cycling to work and everywhere else would not stop me from piling on the pounds, or alternatively a lot of it would go to waste, and that just doesn't go with the whole love food, hate waste philosophy. This weekend I've baked two cakes though, one which I took to a dinner party yesterday and which I'll post about later this week and a Lemon Drizzle Cake, just because I fancied some and I figured that even if nobody comes round to visit to today, I'll just have a slice or two by myself and take the rest to work and make my colleagues happy tomorrow.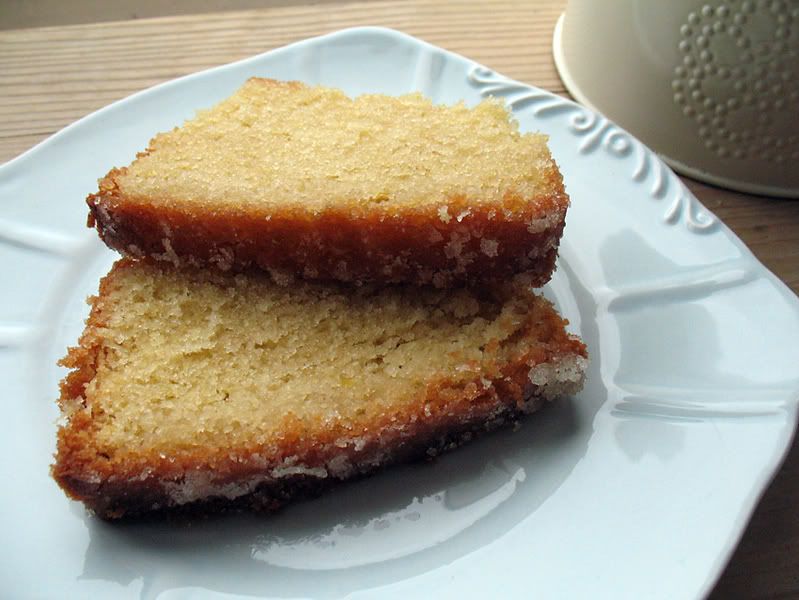
A couple of months ago Tana Ramsey's Lemon Drizzle cake made an appearance on quite a number of food blogs and I've been meaning to try it ever since. So, I finally did. It's a good cake, easy to make, moist and lemony and I'm sure it'll still be good and not dried out after a couple of days, but for me it's not quite lemony enough and my other recipe remains my favourite.
Here's the recipe as it appears on the BBC Good Food website for you, so you can try it for yourself and see if you like it better than your favourite Lemon Drizzle Cake.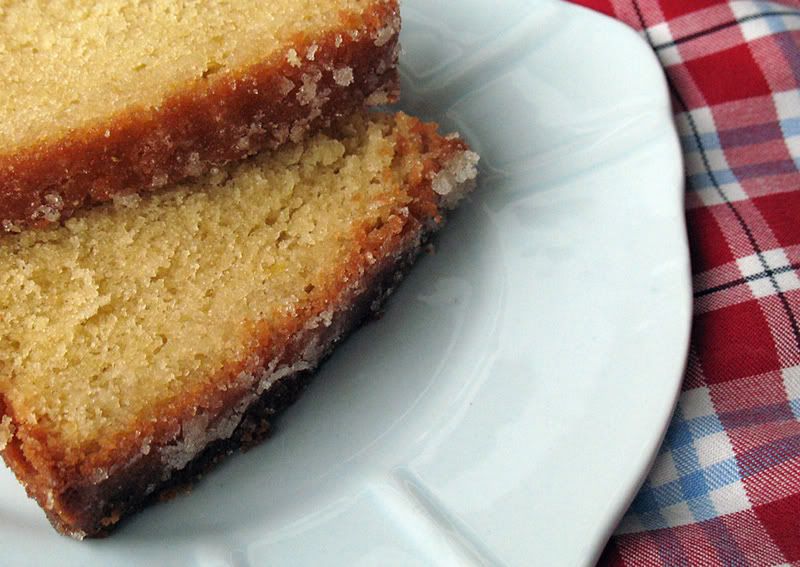
Tana Ramsey's Lemon Drizzle Cake
225g unsalted butter, softened
225g caster sugar
4 eggs
finely grated zest of 1 lemon
225g self-raising flour
juice of 11⁄2 lemon
85g caster sugar
Heat oven to 180C/fan 160C/gas 4.
Beat together the butter and sugar until pale and creamy, then add the eggs, one at a time, slowly mixing through.
Sift in the flour, then add the lemon zest and mix until well combined.
Line a loaf tin (8 x 21cm) with greaseproof paper, then spoon in the mixture and level the top with a spoon.
Bake for 45-50 mins until a thin skewer inserted into the centre of the cake comes out clean. (Mine took 60 minutes.)
While the cake is cooling in its tin, mix together the lemon juice and sugar to make the drizzle.
Prick the warm cake all over with a skewer or fork, then pour over the drizzle - the juice will sink in and the sugar will form a lovely, crisp topping.
Leave in the tin until completely cool, then remove and serve. Will keep in an airtight container for 3-4 days, or freeze for up to 1 month.
Monday 13 October 2008
The best ever Brussel Sprouts (with Bacon and Shallots)
It definitely is autumn now! How do I know? Well, there are a number of things, I've started to make soup again, the leaves outside my window are turning and plenty of them are to be found in big piles on the ground, I've occasionally put the heating on for a few hours, all big give-aways I know, but best of all, and definitely a sign that summer is over: I can buy fresh brussel sprouts at the green grocer's again!
Yes, that does make me a very happy bunny. From absolutely hating them as a kid (I learned recently that our taste buds die as we grow up and that's why we start liking some foods that as children we might have considered too bitter or too hot etc.) sprouts have quickly made their way up the 'Sylvie's Favourite Vegetables Ladder' and definitely reside in my top five these days. And yes, I'm fully aware that for a lot of people they'd probably be in their bottom five.
I love them just simply steamed with some butter and nutmeg, but the best way to have them in my opinion is this Rachel Ray recipe. The first time I made them this way was for a Christmas dinner, even D.'s stepmother who usually doesn't particularly embrace change and new ways of cooking old favourites, asked the next year if I'd make my special sprouts again. Then I made them for my family in Germany and where they also went down very well. So, if you want to raise the good old sprout to a whole new level, give this recipe a go. You might even transform some sprout haters into sprout likers, if not lovers!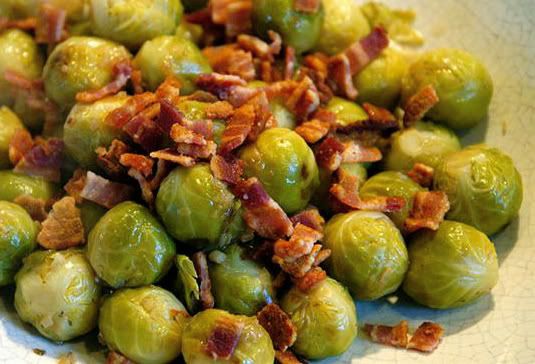
This is also my entry for the Eating with Seasons - October event hosted by Maninas: Food Matters, because as I said, sprouts have just started to re-appear after their long summer break in all the green grocers and supermarkets here in the UK!
Brussel Sprouts with Bacon and Shallots (serves 4)
3 rashers bacon, chopped into small bits
1tbsp olive oil
2shallots, chopped finely
1 1/2lb smallish brussel sprouts, trimmed
1 cup good quality chicken or vegetable stock
salt, to taste
pepper, to taste
In a frying pan, fry your bacon until brown and starting to crisp.
Remove the bacon from the pan, reduce the heat to medium and add the olive oil and shallots for a couple of minutes, until they start to soften.
Now add the sprouts and fry for about 2-3 minutes.
Add the stock and bring to a boil, reduce the heat, put on a lid and simmer for 10 minutes or until tender.
Top with the bacon bits and serve.
Enjoy!
Sunday 12 October 2008
Pizza
My dad is one of the very few people I know who do not like pizza, and I'm having a hard time trying to understand why you would possibly not like it. Of course there are pizzas that I don't like that much either, for example I am not so keen on chicken on a pizza or all those weird ones you can get here in the UK that have donner meat on them. Generally though I see pizza as a great treat.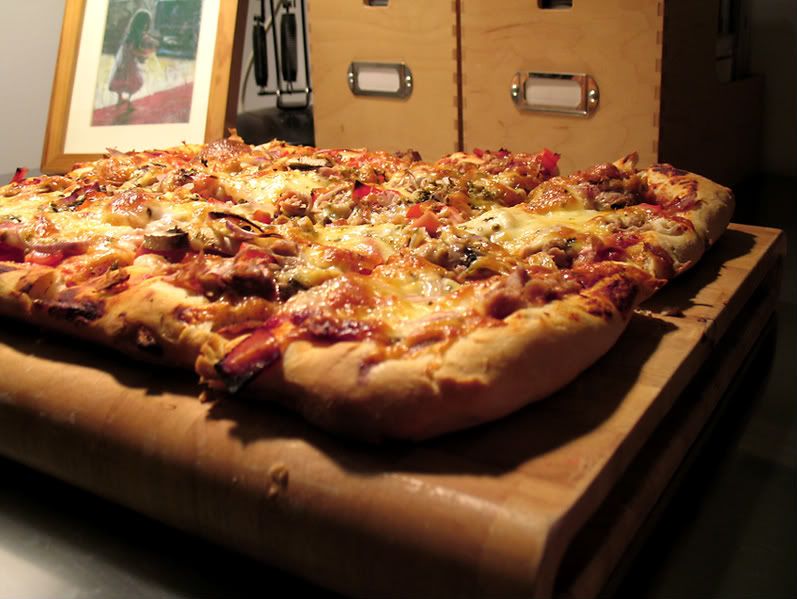
There's of course a difference between the pizza you buy in a restaurant or take away place and homemade pizza. I guess it mainly has to do with the temperature it's baked at, but I like either and if you have never made your own you just gotta try it. It's so much fun making your own dough and then topping it with all your favourite things.
One of my favourite toppings will seem strange to some of you US readers out there, as it is not a common topping in the US at all, but it's a different story in Germany and you can find it here in the UK and all other European countries I have ever had pizza in as well. It is tuna. Sounds strange to you? Trust me, it's good. Just try it!
This time, my friend C. helped me to make this pizza and in addition to a can of tuna we also added some strips of deli ham, mushrooms, peppers, red onion and plenty of cheese. Just like the Jambalaya, we finished every last crumb of it! The recipe for the dough and the sauce both make quite a lot, but they freeze well and it means that next time you can have your pizza ready in a jiffy, just gotta remember to take everything from the freezer to thaw.
Cheesy Pizza Crust
2 packages fast rising yeast
2 cups warm water
2 tbsp sugar
2 tsp salt
4 tbs olive oil
1/2 cup vegetable oil
1/3 cup grated parmesan cheese
6 cups flour
Put the flour in a large bowl and make a well in the middle. Mix the warm water water, yeast, sugar, and salt and carefully pour into the well you made in the flour. Allow to sit until foam appears on the top.
Once the yeast is foaming, add the oil and start mixing everything together with your hands or you can use a food processor with a dough hook attachment.
Once it has all combined, turn it out onto a floured surface and kneed for about 5 minutes, incorporating the grated parmesan as you go along. You might need to add a little more flour to make the dough stop sticking. Do so 1tbsp at a time.
Transfer the dough to a large, oiled bowl and cover with a cean tea towel.
Place in a warm location and allow to rise for one hour or until doubled in size. (I always put some hot water in a sink and place the bowl on a rack over the top of it.)
Punch down dough, kneed for another few minutes, return to the bowl and allow to rise a second time.
After the second rise the dough is ready to be divided and rolled, or stored in the freezer.
Once you have rolled the dough out into the desired shape, top with your favourite toppings and bake in a preheated oven at 220C/Gas 7 for 12-15 minutes.
Pizza Sauce
200gr tomato puree (tomato paste)
70ml water
1 1/2 tsp sugar
1tbsp olive oil
1/4 tbsp lemon juice
1 clove of garlic, crushed
1/2 tsp oregano
1/4tsp basil
1/8tsp thyme
Combine all ingredients in a saucepan and bring to a boil.
Turn down the heat and simmer for about 15 minutes.
If your tomato puree is very acidic, add a little more sugar and water and simmer a little longer to thicken.
Friday 10 October 2008
Jambalaya
Where do the days go? It's the weekend again and I have no idea what happened to the rest of the week! My friend C. flew back to Germany on Tuesday, but before she did, we managed to do some cooking together. One of the dishes we cooked was Jambalaya.
Usually I'm not that keen on smokey flavours, I always prefer my bacon, salmon, ham etc. unsmoked, but for some reason I do enjoy the smokiness of a good Jambalaya and the two of us polished off the whole thing. Well, I did cut the recipe in half to serve two, but when we first looked at how much there was we thought we'd made way too much. We were definitely wrong though and somehow managed to find enough room for every last bit.
This is a recipe from Lesley Waters' Simple Ways to Success - Healthy cookbook. I sometimes find her a bit annoying when she's on telly, but I have to say every dish I have tried from this book so far has been a success and I guess that's what really counts. As I said, I cut the recipe in half, used white Basmati rice and left out the cloves, but I write the original amounts and ingredients here for you to try or tinker with. Oh, and sorry about the bad picture, I've gotta get used to taking pictures with artificial lighting again, as the days are getting darker quickly!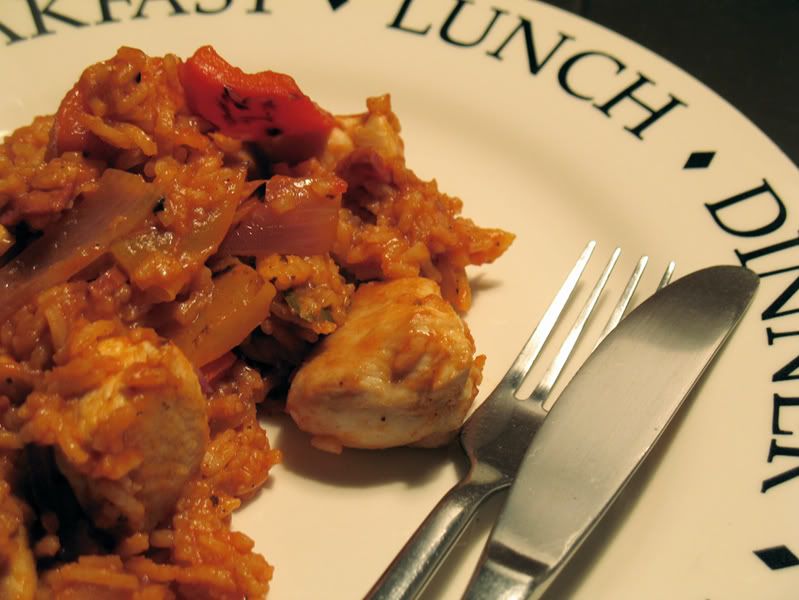
Jambalaya (serves 4)
2 chicken breast fillets, cut into bite sized pieces
3 peppers (red, yellow and orange), roughly chopped
350gr Camargue red rice, cooked
80gr sliced chorizo
1tbsp olive oil
1 red onion, cut into wedges
2 garlic cloves, crushed
1 1/2 tespoons smoked paprika
pinch of ground cloves
3 bay leaves
400gr can of chopped tomatoes
200ml vegetable stock
freshly ground black pepper, to taste
salt, to taste
In a large shallow frying pan, fry the chorizo slices for about half a minute on each side. Take them out using some tongs, leaving as much of the released fat in the pan.
Add the chicken pieces and fry until golden, approx. 10minutes. Take out off the pan and drain on some kitchen paper.
Add the oil to the pan and fry the peppers and onion for about 5minutes. Add the garlic, paprika, cloves and bayleaves and cook for another minute or so.
Add the cooked rice, chorizo, chicken, tomatoes and the stock and stir well. Bring to a simmer and continue to cook for about 10 more mintes, stirring frequently. Most of the liquid should be absorbed.
Season with salt and freshly grounf black pepper to taste.
Enjoy!
Sunday 5 October 2008
To market, to market to buy a fat pig...
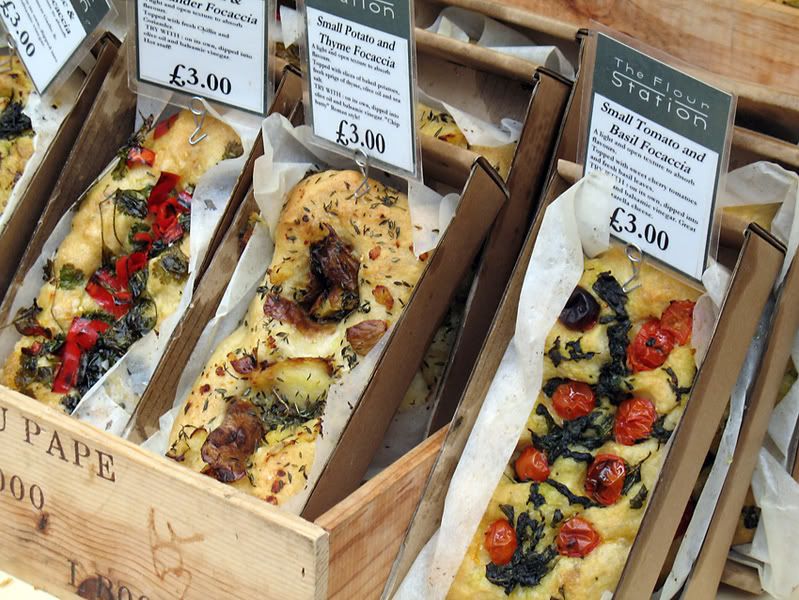
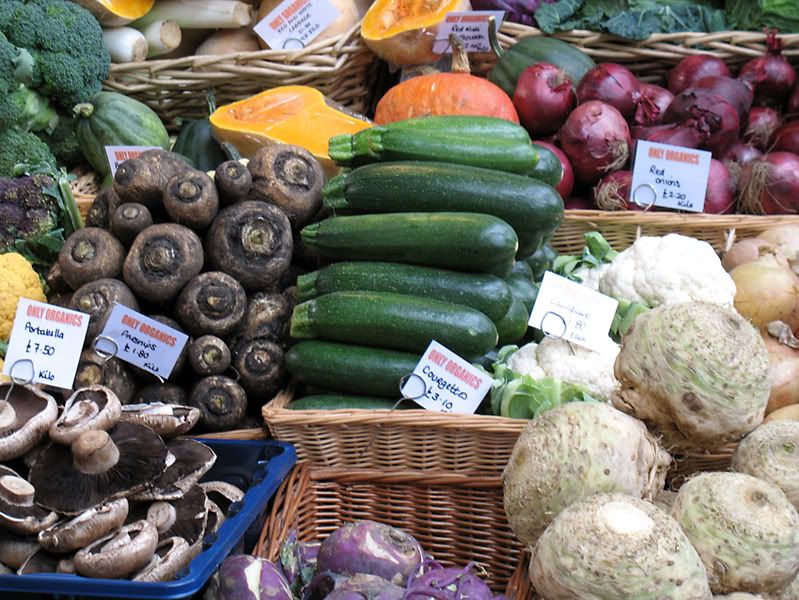
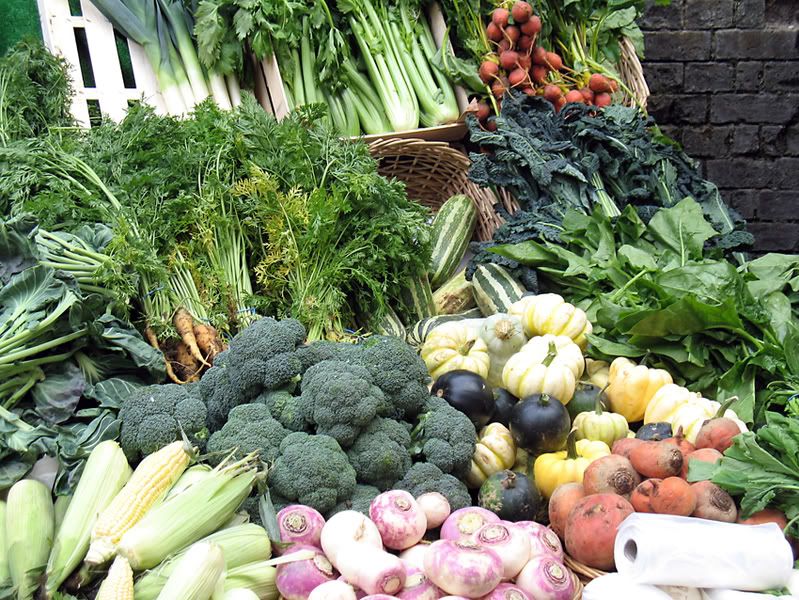
I have been wanting to go to London's Borough Market for ages now, because everything I have ever read about it, describes it as a fantastic place, a total foodie paradise. On Saturday I finally had a chance to go and so I did! My friend C. (the one who smells freshly baked bread from miles off) is over from Germany for a week and we took the 6.41am train from Manchester to London for a day of shopping and just enjoying ourselves.
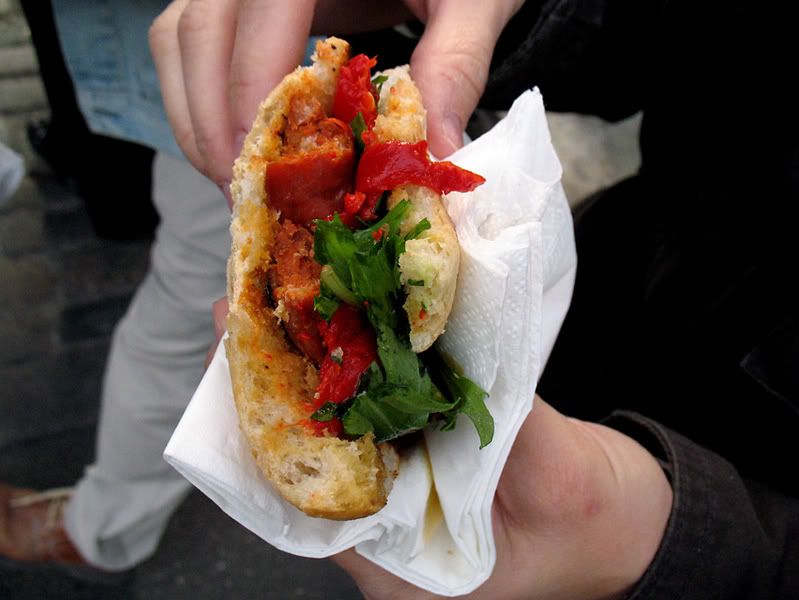
Arriving in London a good few hours later and feeling a little jaded, our first stop was Borough Market and let me tell you, everything you've ever heard about it, is true. Just how I imagined, if not better! I was feeling very awake, very quickly. There were so many stalls selling fantastic produce, bread, cakes, cheese, meat, and all kinds of snacks, that my senses were a bit overwhelmed at first. There were things to see and smell everywhere. Unfortunately, as we still had a whole day of traipsing around London ahead of us, I couldn't really shop to my heart's content, but we had a wonderful chorizo, pikante pepper and rocket sandwich from Brindisa and I had some Raspberry and Bitter Chocolate Cake, while C. chose a large Chocolate Brownie from one of the bakers.
I feel that my words just aren't enough to describe what it was like, therefore I'll let some pictures do the rest of the talking....
